

Hi everyone, today I am a guest designer on Shesasassylady. Today I wanted to share my altered Printer's tray that I got at Hobby Lobby for $5.00. I was at Archivers over Christmas and noticed the 7 Gypsies Printer's trays. It was the first time I was privey to one, and I was immediately hooked. They had one decorated up, and I knew I needed to make one. Theirs was 19.99, but I couldn't bring myself to spend that much on one when they had so many other things I wanted to spend my money on, so back on the shelf it went. On the way out, I was thinking if I talked real nice to DH, he could make me a knock off. Anyway, a week later I was shopping at HL and they had the Paper Studio's printer's trays for half off their normal price of $10.00, so I grabbed 2. A white one and a black one. Here is the black one. I started with 3 pics that I printed in b&w so they would not clash with my color scheme. I had bought some Lost and Found paper while I was at Archivers that had a valentine's theme to it with red glitter accents. I love, love, love this paper, double sided and thick. I used it as accents in the cubbies that did not have any pics in them, it was already pre-decorated.
For the cuts, I used the following carts:
Cake Basics
Gypsy Wanderings
and MS Season Cake Art(my new go to cartridge besides George)
I got the idea for the ribbon off of the Circle Blog, I ordered the seam binding off of ebay(white), took some glimmer mist and colored my own ribbon. I sprayed the ribbon in a bowl and let it set overnight until it was dry.


I then placed this ribbon between the scalloped heart and the regular heart.

I inked the edges, applied stickles, cut the banner off of the MS cart, stamped letters on it and attached the banner to some string, and finished decorating the heart.

The flowers above came next. I saw the idea from the flowers on HSN the other night. I started with luscious tissue paper I got from Micheals in a large quantity.
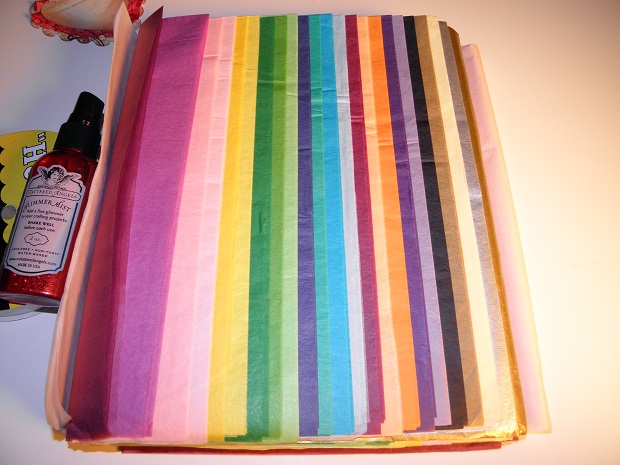
Took out the red, which already had 8 layers to it, folded it in half and ran it thru my big shot(sizzix). So I was working with about 16 layers of tissue paper. (It cut like butter).


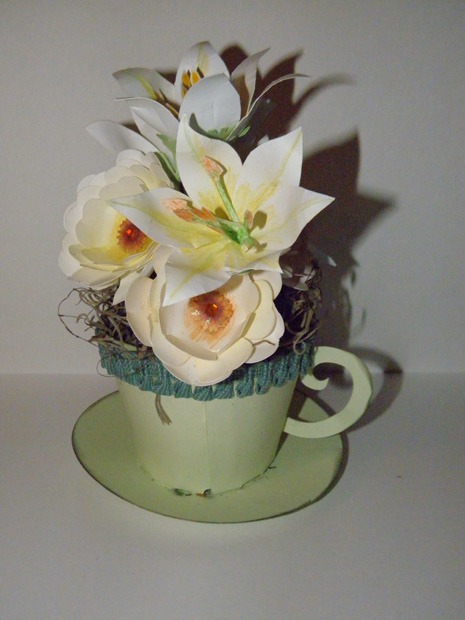
I stapled these in the middle and took each layer and crumpled it one by one.

I ended up with these really cool peony looking flowers. Remember, this will work with any symetrical flower die, circle die, or scalloped circle die.
Here is the finished project.


added more stickles here and there, a ticket, doilies, etc. and I was finished.
Thanks Sheila for having me as a guest designer.
Beth


2 comments:
This is such a wonderful project! I just love how beautiful this printers tray turned out. wonderful detail to surround those beautiful photos! Thanks for joining us today at Shes A Sassy Lady with this great project and tutorial.
This is just a beautiful project and I'm sure it will be a keepsake your family will cherish for years to come. I love the tips on the colored ribbon and tissue flowers. Thanks for sharing!
Tanya
Post a Comment